The first thing I do when getting a new boat is to take about a million photos of everything so I can refer back to them while away from the boat. Our surveyor—a longtime friend-of-a-friend and ex-diesel mechanic—is very thorough and I use his “items needing correction” list as my default project list to start getting familiar with a new boat. Of course, this always results in finding more projects.
“Don’t go looking for problems on your boat. Because you’ll find them.” - A wise sage
One of the things I’m surprised he missed was the windlass solenoid. It’s located just inside the chain locker and was so corroded I had concerns about it “auto-deploying” the anchor.
 When a salty environment meets metal.
We’re in the habit of keeping the windlass and arch breakers off when not required for exactly this reason, but I figured it was only a matter of time before the windlass wouldn’t work when I needed it to. I wasn’t entirely sure I’d be able to get it clean, plus I figured a spare wasn’t a bad idea, so I ordered a new, identical Maxwell SP5104.
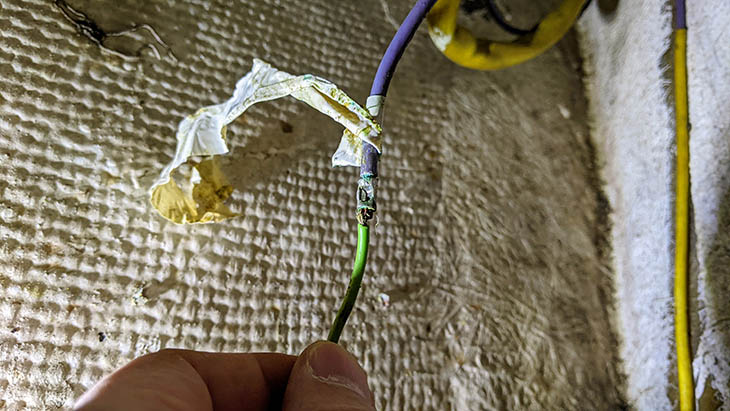
It was pretty awkward working in the locker since the solenoid is mounted just inside the door. Making it somewhat worse was the fact that the wires were about as short as they could possibly be and covered in electrical tape. Removing the tape left the wires sticky, which, in turn, made my fingers sticky.
 Before the time of waterproof butt connectors there was electrical tape!
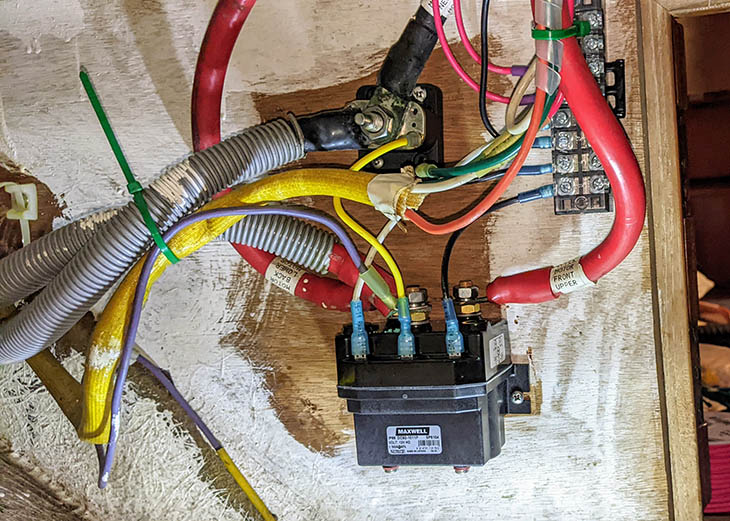
To make life a little easier, I extended all the short wires and installed a terminal block. This let me handle the deck switch wiring and the solenoid wiring separately, removed the existing 2-into-1 butt conections, and will make swapping out the solenoid much easier should I ever need to do that. I used heat shrink connectors on all new wiring and finished up by slathering dielectric grease over any exposed connections.
 Cleaned and slightly improved installation.
This was mostly a stopgap solution in the process of fixing obvious problems to get the boat ready for (hopefully) problem-free cruising this summer. It’s not recommended to install the solenoid in a chain locker because of the predictable issues with corrosion, and if I notice any new corrosion forming, I’ll move the whole works into the forward berth, probably in the area under the upper bunk.
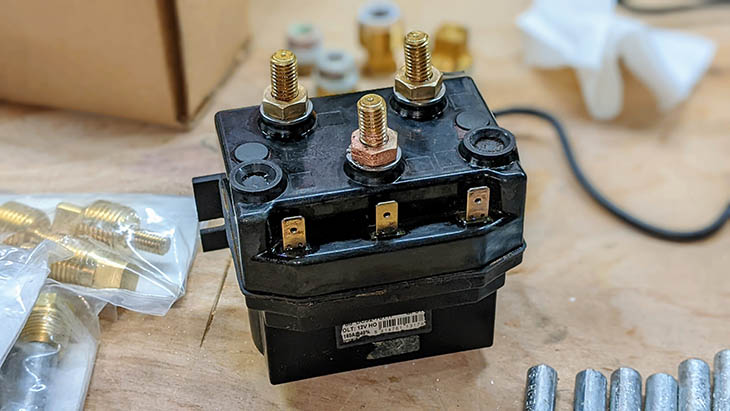
Back at home, I used my go-to solution of vinegar, baking soda, and salt paste to clean up the old solenoid. After letting the paste sit on the corrosion for 15 minutes or so and then scrubbing a bit with a stiff brush, the old solenoid looked almost new again. It now lives in the spares bin!
 The old solenoid cleaned up quite nice.